- Portable: to keep floor space open
- Inexpensive: Who knows if they will outgrow it in a the next year.
- Large Enough to fit multiple kids building but not take up the entire room.
- Easy to DIY: time is a luxury in this busy family.
There were tons of inspiration on Pinterest

Source: Our Wee Family

Source: Eric Cramer (Hubpages)

Source: Holly & Rachel
Any of those would have been perfect options, they would all be easy to recreate. But...
Ultimately we decided to go with this one:
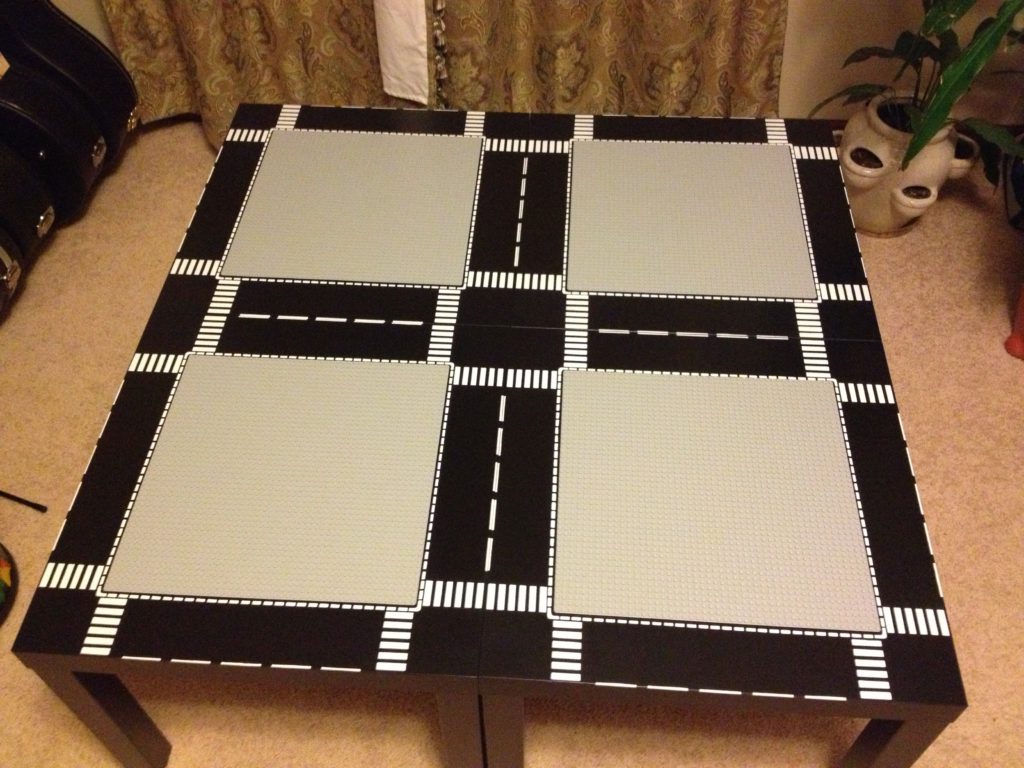
Source: egress123 via PapayaPc
It screamed PERFECTION! the moment I laid eyes on it via Pinterest. I followed the link and landed on a pictorial of exactly how to recreate this masterpiece. Only 1 thing was missing, the details on how to create the road lines with such exactness. I took a chance and left a message on this year old post. What do you know the original poster responded with such kindness and actually shared the printable templates. It took some trial and error on my part (no reflection on the project) I couldn't get the stencil cut out properly.
I learned a few things while doing this table project.
#1 use a thicker material to make the stencil, posterboard was too flimsy the paint bled

#2 On table 2 I tried temporary spray adhesive to take it in place, it left a messy residue

#3 Odorless Mineral Spirits is a must for cleaning up mistakes with spray paint

It turned out okay for working on it Christmas Eve while the kids were sleeping. A few touch ups with a oil-paint sharpie and all will be fine. Still 2 tables to be done and I will take my time so they come out sharp.
Here is my little Lego Fan and his new DIY building table:

Oh, I forgot to mention that we left the legs off until we move to our new place. Not sure if we will have a playroom where he can spread out. So for now he is playing with them on the floor and we can pack them up for storage. He has played with them for hours and has filled up this part of the lego town.
Thanks, EGress123 for so graciously sharing your idea with me.